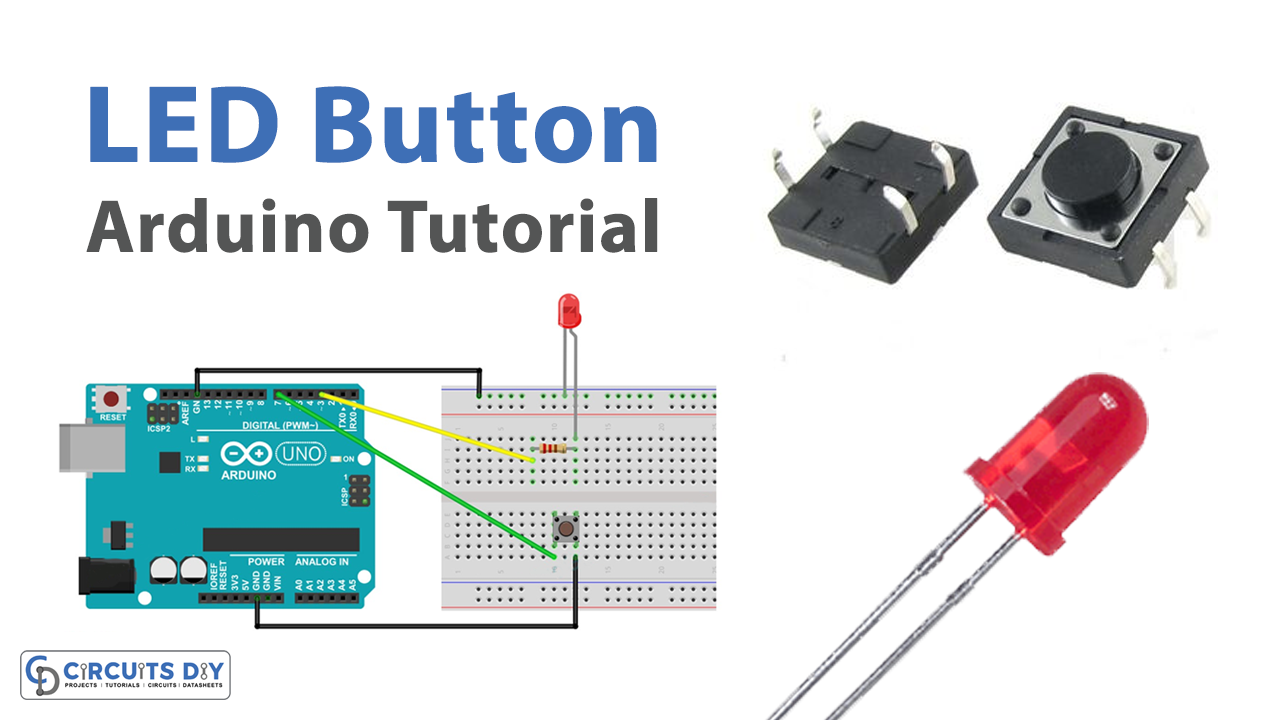
Control LED with Push Button Arduino Tutorial
Learn how to work with an LED and a Push Button using Arduino. Control the LED with the push button - 2 step by step examples.👉 Complete Arduino Course for.

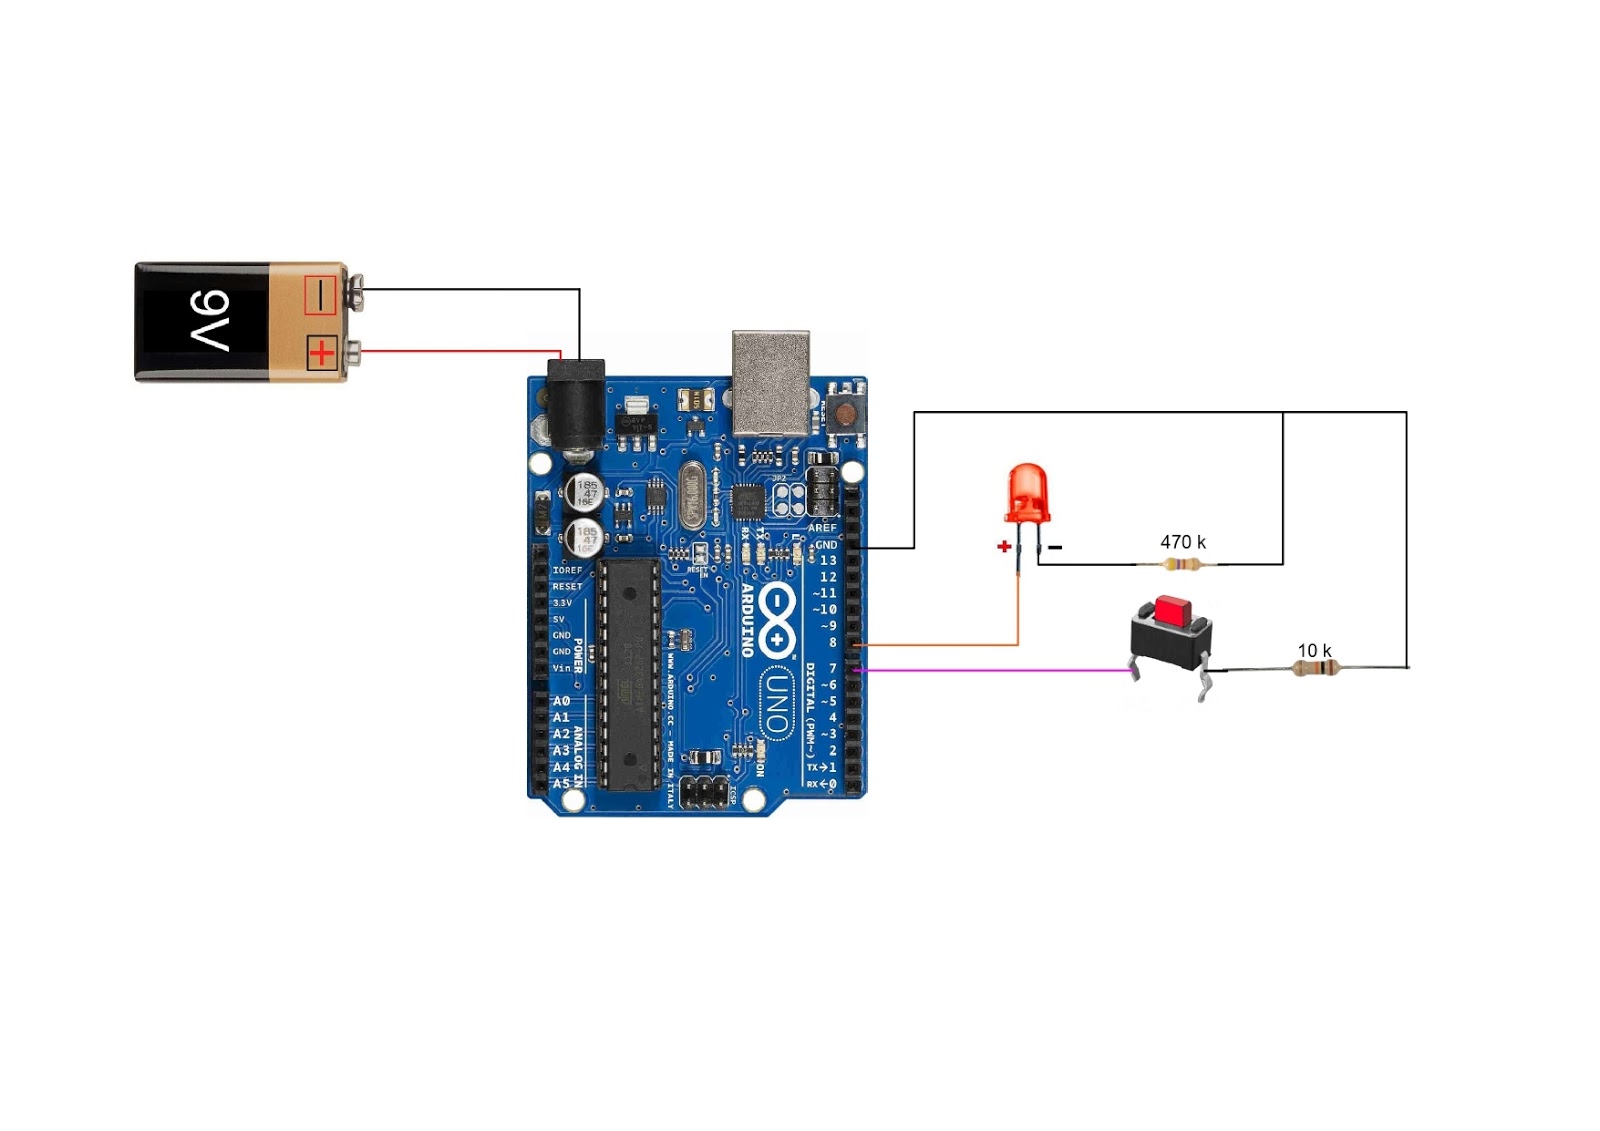
Automation BD LED ON & OFF with 2 push button using Arduino UNO. Basic operation of PUSH BUTTON.
Knowing how to use a push button Components needed 1× Arduino 1× Breadboard 3× Jumper wire (male-male) 1× Min 10K Ohm resistor 1× Push button / Tactile switch Buy components $ 7.35 Arduino Uno (clone) with cable $ 35.89 5x Arduino Uno (clone) $ 14.54 Arduino Uno (clone) $ 25.97 Arduino Uno SMD (original) $ 27.31 Arduino Uno Chip (original)

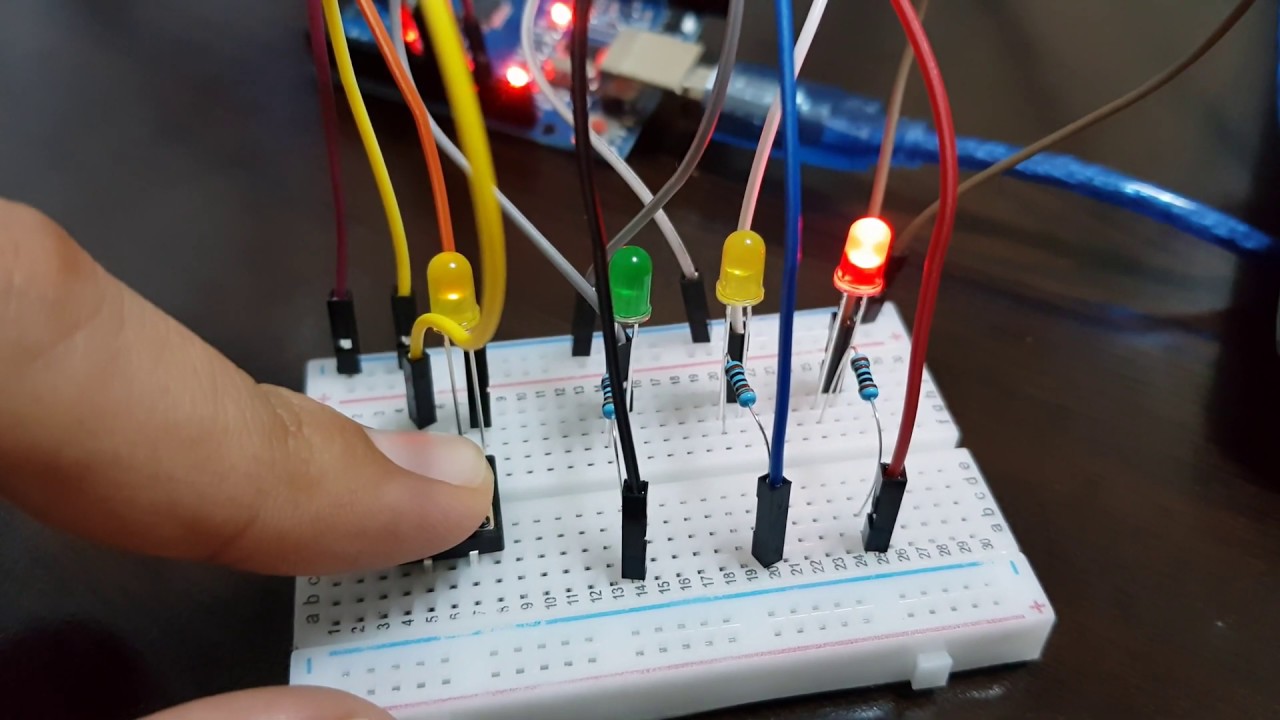
LED Patterns Arduino LED Pattern Push Button Arduino Tutorial YouTube
LED ON & OFF with 2 push button | Arduino Push butt. Tutorial 1 :-In this video I'll show you How to Turn On and Off led using 2 push buttons and Arduino Uno.

[RESOLVED] 2 buttons control for LED
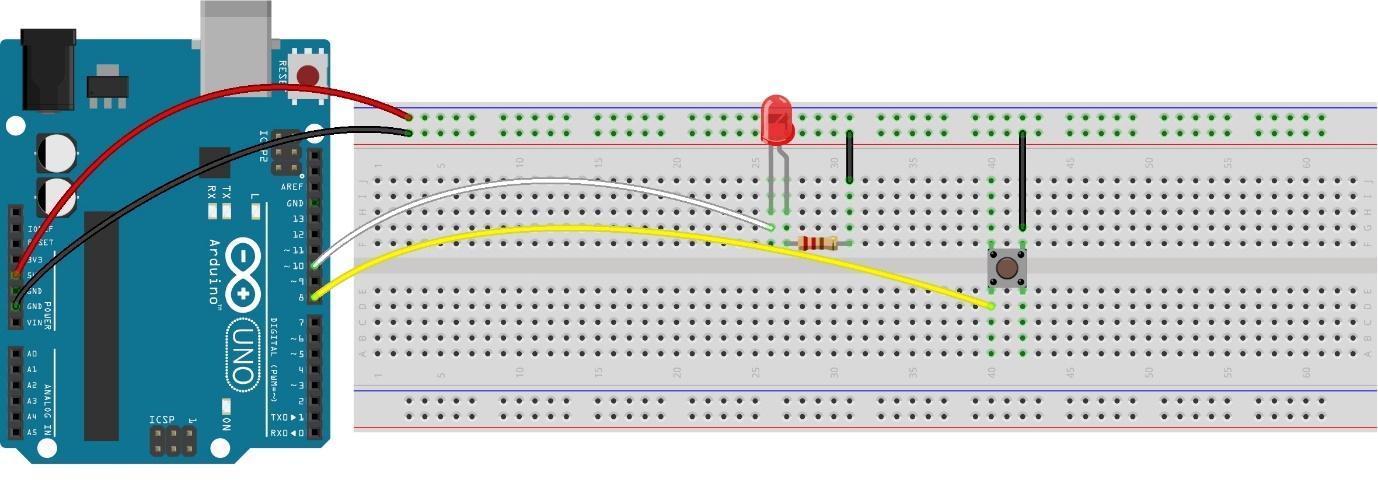
Push button. LEDs. 220 Ohm resistors. Here is the circuit. And here is how to build this circuit: An LED has 2 legs. Connect the shorter one to GND and the longer one to a digital pin, with a 220 Ohm resistor in between in order to reduce the current that goes through the LED.

Connecting pushbutton with Arduino and making light patterns Hackster.io
A push button switch is an electrical switch that is actuated by a button or plunger that is pressed or released. It is used to control the flow of current in an electrical circuit. Here are six features, specifications, and applications of a push button switch: Hardware Required Pinout of Push Button Switch Features:

LED Blinking using 2 push buttons on Arduino YouTube
1 - Button state detection 2 - Button state change detection 3 - Button press count If you want a LED to be ON when the button is pressed and OFF when the button is not pressed then you need to detect the button state only.
Arduino Uno Push Button to change LED Patterns + Full Code YouTube
To demonstrate how to control devices with a push button, let's build a circuit that turns on an LED when the button is pressed. The LED is just an example, you can use this circuit to control any device powered by a 5 volt signal. These are the parts needed to build the project: Arduino Uno; Jumper wires; Breadboard; SN74HC14N Schmitt trigger
Push Button controlling LED Programming Arduino using Matlab 2 eediary
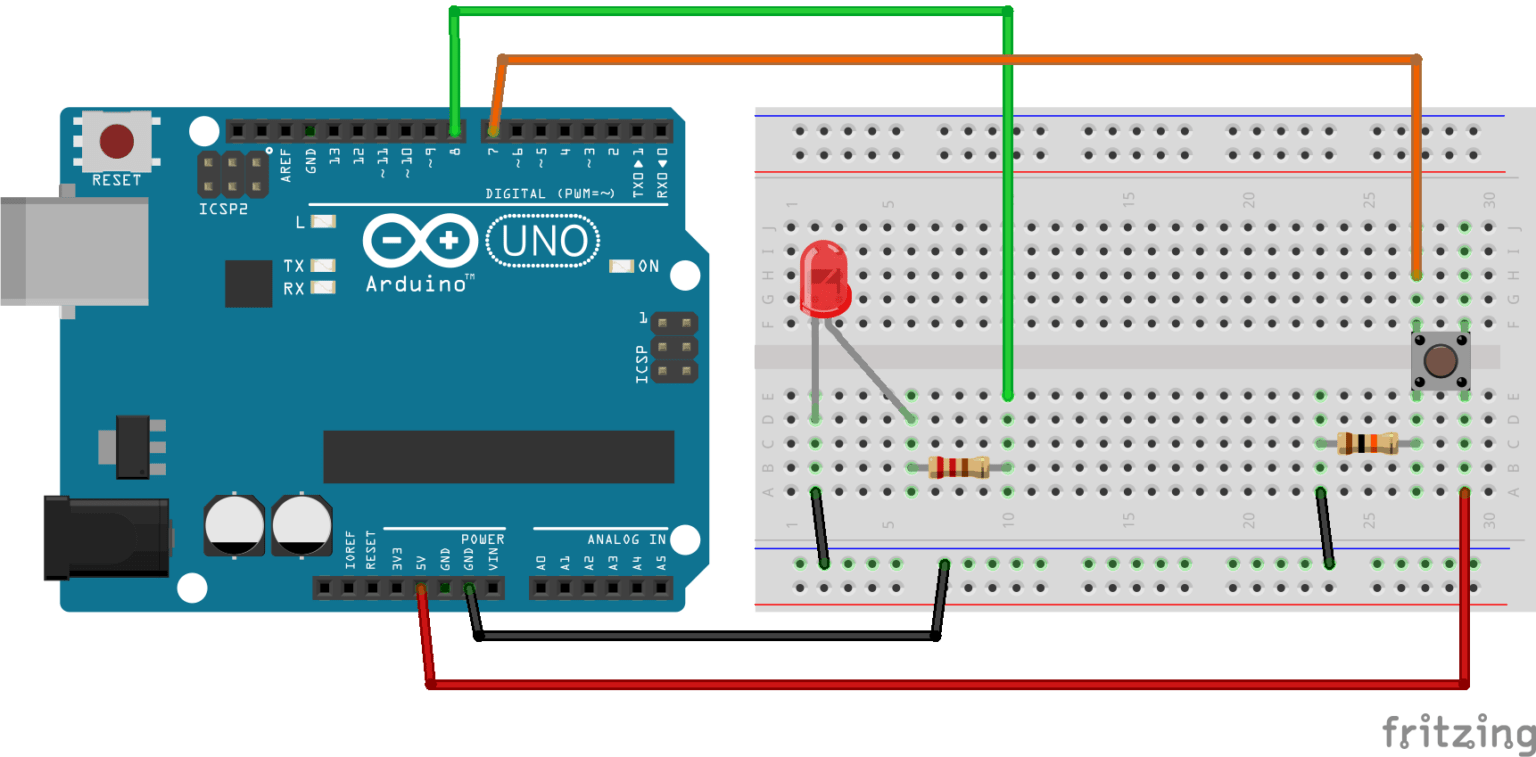
About LED and Button If you do not know about LED and button (pinout, how it works, how to program.), learn about them in the following tutorials: Arduino - LED tutorial Arduino - Button tutorial Wiring Diagram This image is created using Fritzing. Click to enlarge image Arduino Code
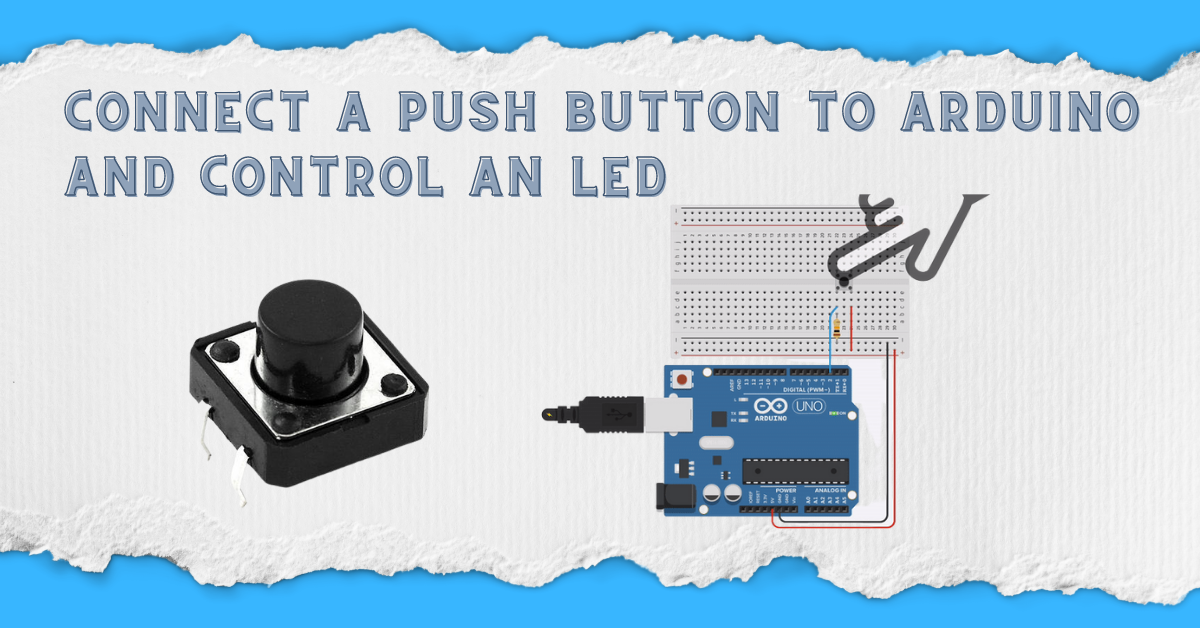
How to connect a push button to Arduino and control (on/off) an LED Electronic Smith
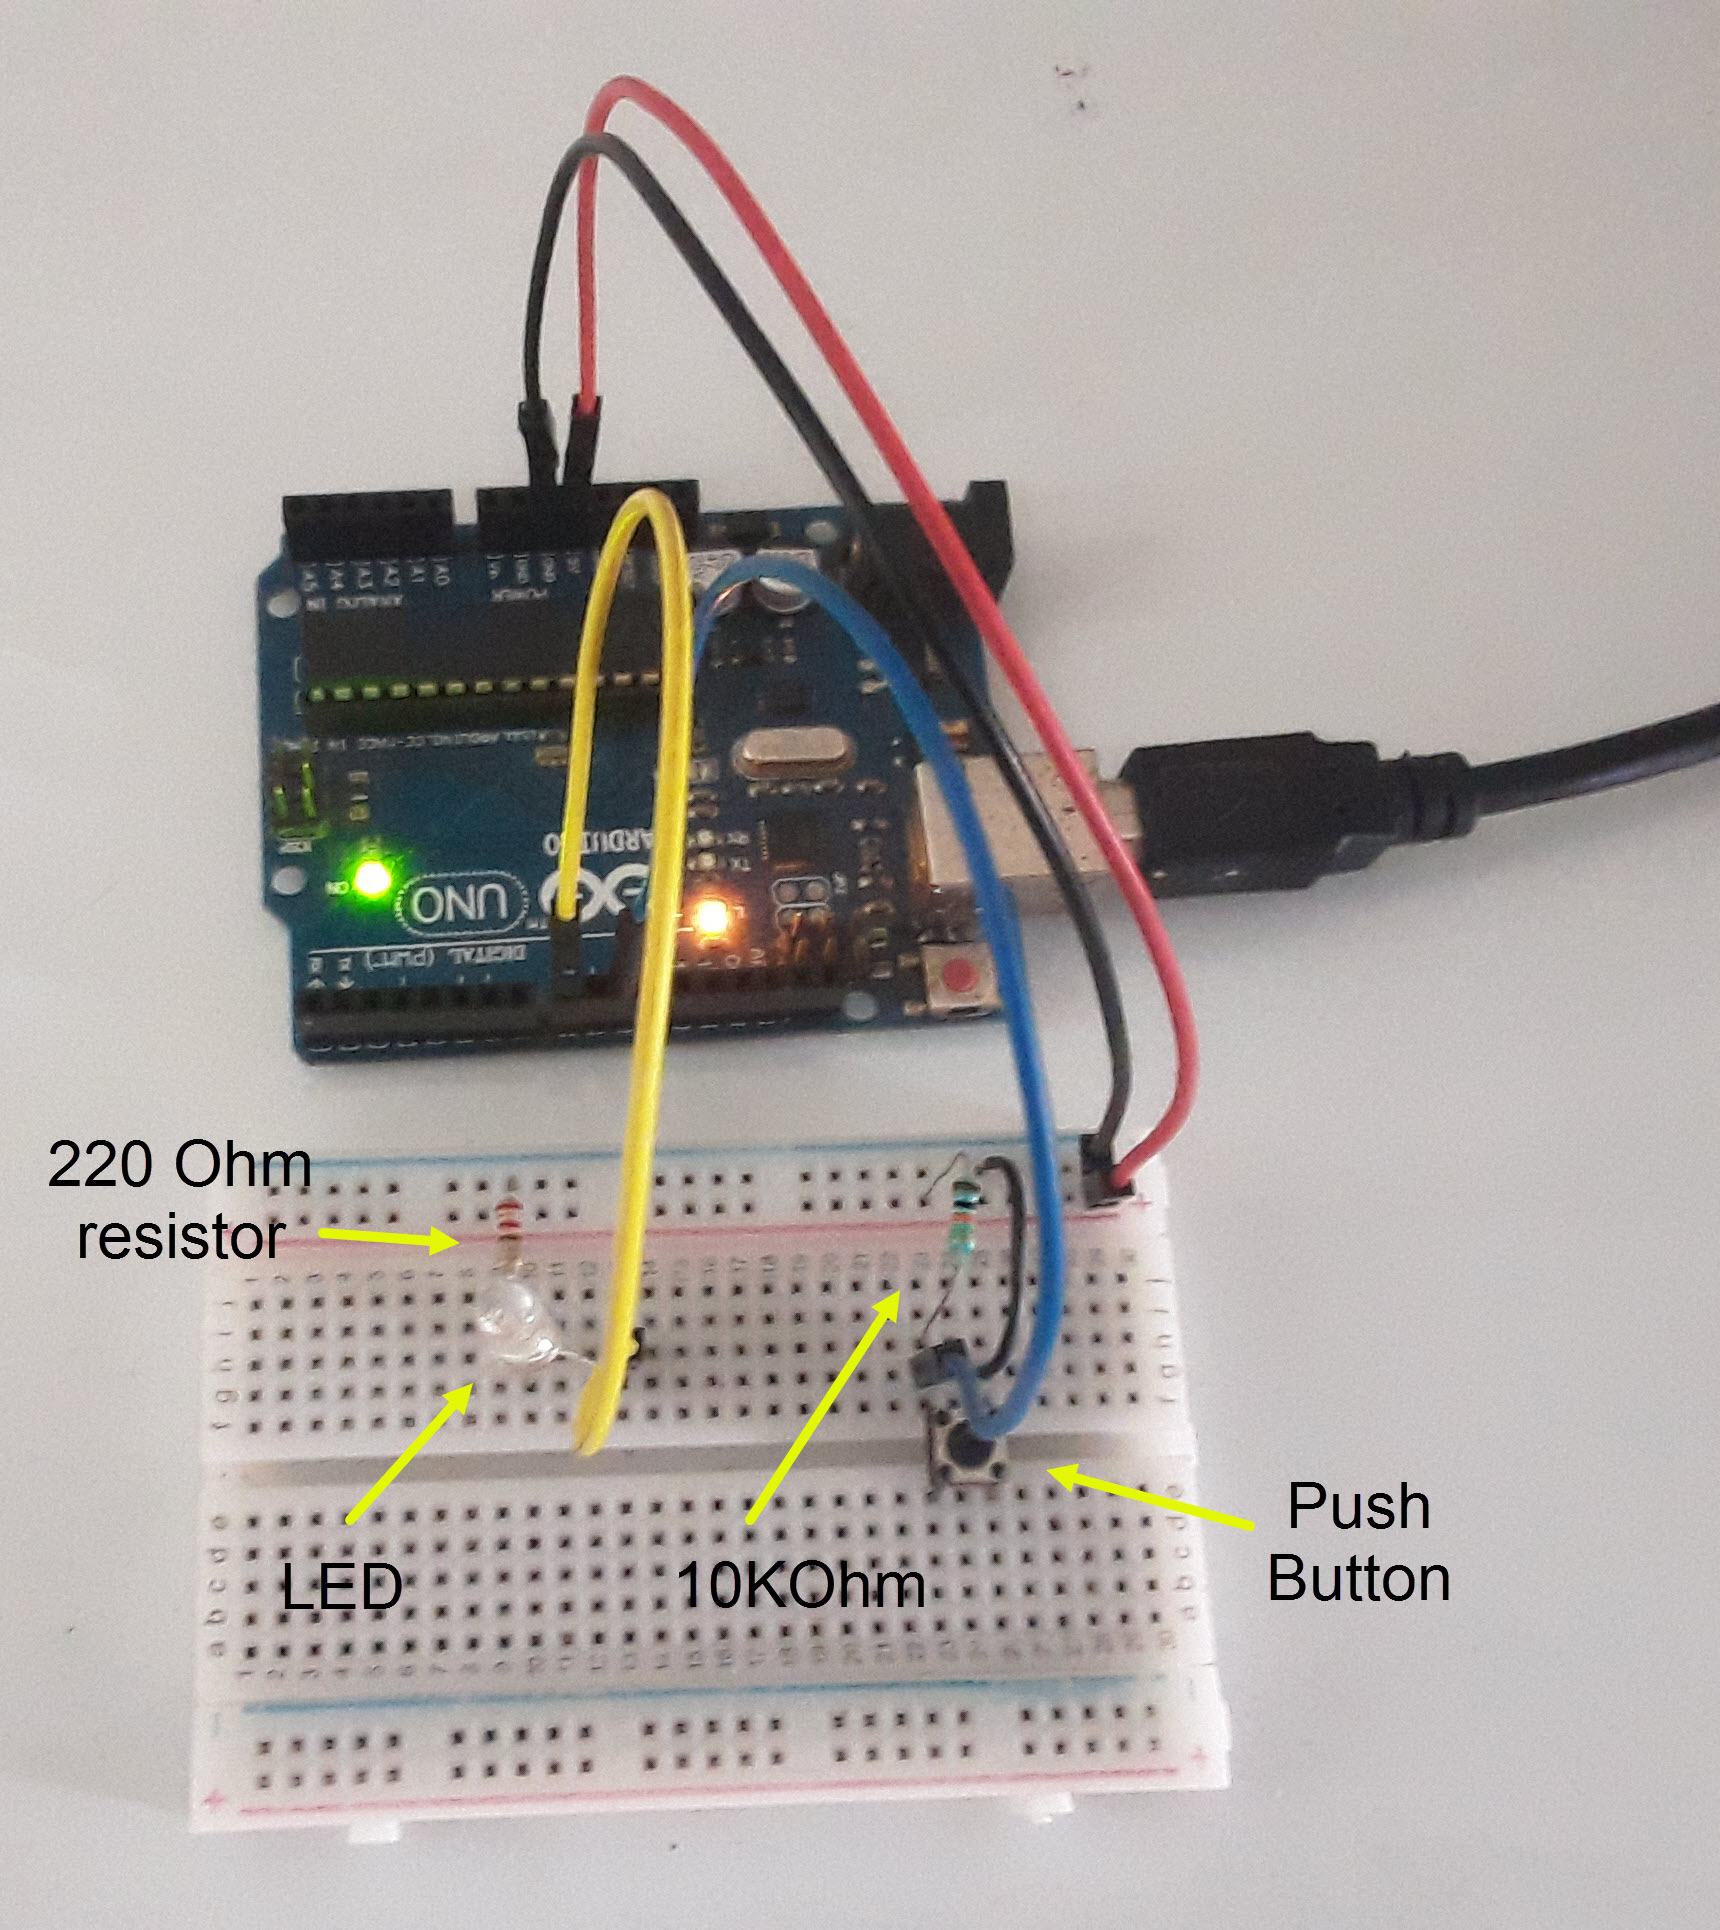
Push button. 220 Ohm resistor for the LED. If you don't have this specific value, any resistor from 330 to 1k Ohm will do. 10k Ohm resistor for the push button. If you don't have, you can go until 20k-50k Ohm. A bunch of male to male wires (including if possible black, red, and other colors).
Arduino Turn LED ON and OFF With Button The Robotics BackEnd
When the pushbutton is pressed, the code reads the state of the button and turns the LED on or off accordingly. The code can be modified to change the behavior of the LED, such as by turning it on for a certain amount of time or by creating a flashing pattern.. Steps Controlling LED with Push Button - Arduino. Connect the LED to the.
How to Toggle LED Using Push Buttons Arduino Uno
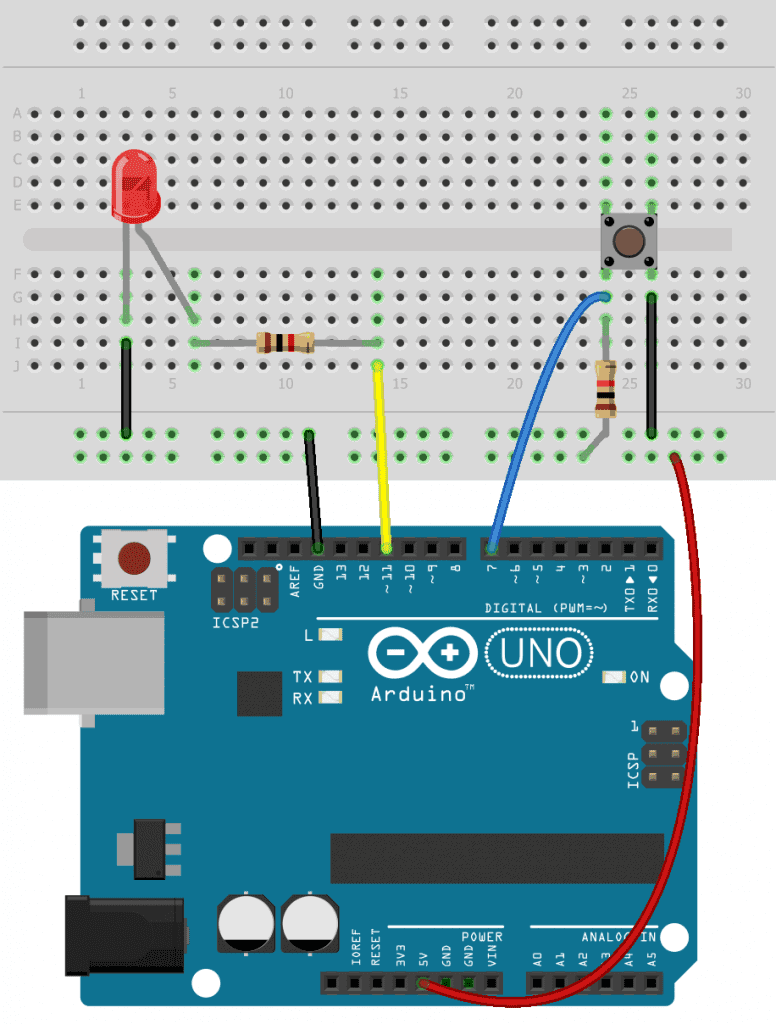
Make sure to power off the Arduino. Plug the push button in the middle of the breadboard, like on the picture.. This is how you initialize the push button in your code. In the void setup(), you use the pinMode() function with 2 arguments: first the button's pin - here BUTTON_PIN will be replaced by "4" - and then the mode we want.
How to Connect and Program Push Buttons on the Arduino Circuit Basics
Step 3: Start Visuino, and Select the Arduino UNO Board Type. Start Visuino as shown in the first picture Click on the "Tools" button on the Arduino component (Picture 1) in Visuino When the dialog appears, select "Arduino UNO" as shown on Picture 2.
Led on off using push button Wired Connection Arduino
Step 1 Insert LED into the Breadboard Insert an LED into the breadboard with the Anode (positive leg) on the left and the Cathode (negative leg on the right). Step 2 Insert a 220 ohm resistor Insert a 220 Ohm Resistor so that one leg is inline with the LED's Cathode leg. Resistors are not polarised, so orientation doesn't matter.

Menyalakan dan Mematikan LED dengan Push Button Arduino
Example sketch code reads the switch or button state to determine whether the switch is open or closed. Connect a push button switch to an Arduino Uno or MEGA 2560 in this part of the tutorial. Afterwards, load a sketch that reads the state of the switch. Push the push button switch and the sketch code on the Arduino switches an LED on in response.
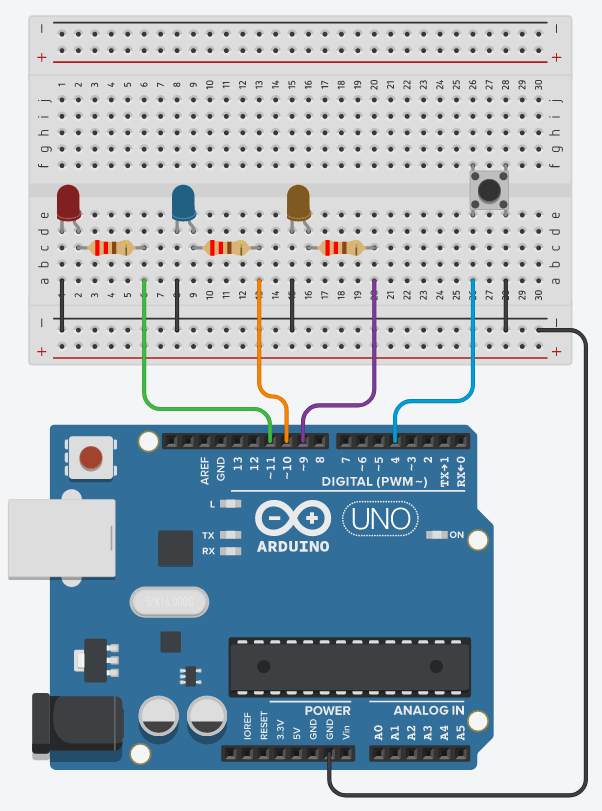
Arduino Push Button with Multiple LEDs [Tutorial] The Robotics BackEnd
About LED and Button If you do not know about LED and button (pinout, how it works, how to program.), learn about them in the following tutorials: Arduino - LED tutorial Arduino - Button tutorial Wiring Diagram This image is created using Fritzing. Click to enlarge image Arduino Code - Button Toggles LED Without Debouncing

Arduino ESP32 Turn on LED on Button Press and Turn Off After a Period
Arduino Push Button LED ON/OFF Code | Arduino Tutorial April 28, 2023 by Arduino Circuit Introduction This tutorial demonstrates how to Arduino Push Button LED ON/OFF Code | Arduino Tutorial. The push button will toggle the LEDs on and off in a specific sequence.
